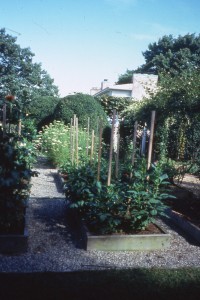
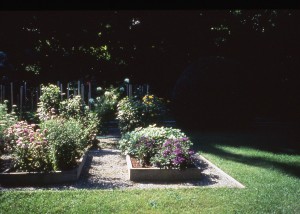
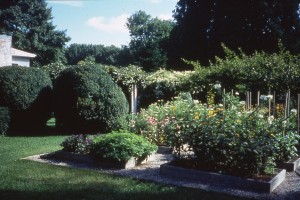
Digging a new vegetable or flower bed can be a daunting task. Try raising that bed above existing grade. Not only will the job be easier but the method offers several advantages. Firstly, in areas of heavy, rocky or compacted soils, you don’t have to waste t ime or energy addressing them. Secondly, in areas of poor drainage, you will be planting above waterlogged soils. Thirdly, you add amended soil according to your preferred recipe. Fourthly, these raised beds can be protected from pests and wildlife. Lastly, soil in raised beds warms up faster in spring allowing earlier planting and faster growth.
How To:
Recommended sizes; 3′x5′, 3′x6′, 4′x6′ You want to be able to comfortably reach across the bed to plant, weed and tend your plants. Keep that in mind when deciding what size bed to construct.
Purchase pressure treated 2″x10″ boards, cut to size, stand on edge to make a 9-1/2″ deep bed, overlap short sides with long sides and nail or screw corners together with 16d, 3-1/2″ hot dip galvanized nails or Primaguard Ten 3-1/2″ hot galvanized exterior screws (or comparable), 3 per corner. You may want to pre-drill to avoid splitting. Level the rectangular frame of boards (on gently sloping ground, you may want to just follow the slope with your bed/beds).
Locate your bed/beds in as sunny a location as you can.
If you are planning to grow tulips for cutting and fear rodent damage, you might want to nail metal hardware fabric to the bottom of the wooden frame. For most other uses, I would skip this step.
Fill the bed/beds with screened topsoil or purchased bagged topsoil. Use a mineral soil and amend to desired texture with sharp, builder’s sand and peat-moss or compost. Soil-less mixes are not recommended. For most crops including annual cut flowers, a light, sandy loam with ample compost/organic matter added is the ideal. This soil mix will hold and release nutrients well, remain friable, and retain moisture while shedding excess water.
Have additional soil on hand to top off beds after settling occurs. Aim to keep the soil level in the bed about an inch below the wooden frame.
Black plastic or mulch can be used to warm the beds or retain moisture and repress weeds respectively. Landscape fabr ic is not recommended.
After planting, supports for annual cut flowers can be constructed by attaching stakes to the wooden frame or just inserting them into the soil along the bed perimeter and making a grid by tying twine at 90 degree angles across the bed. Vegetable plants may require individual stakes or cages.
Individual beds may be netted over a simple frame of wire or wooden stakes to protect against animals if beds are not already located within a fenced area. Row covers will protect against insects. Secure both to 2″x10″ bed frame.

