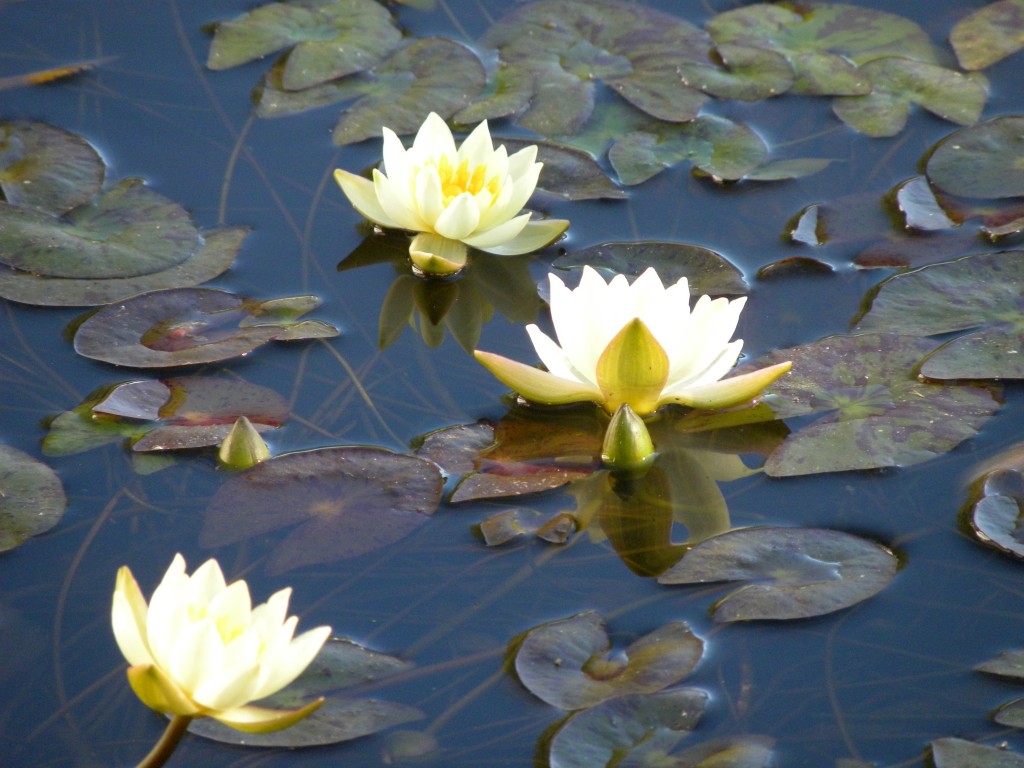
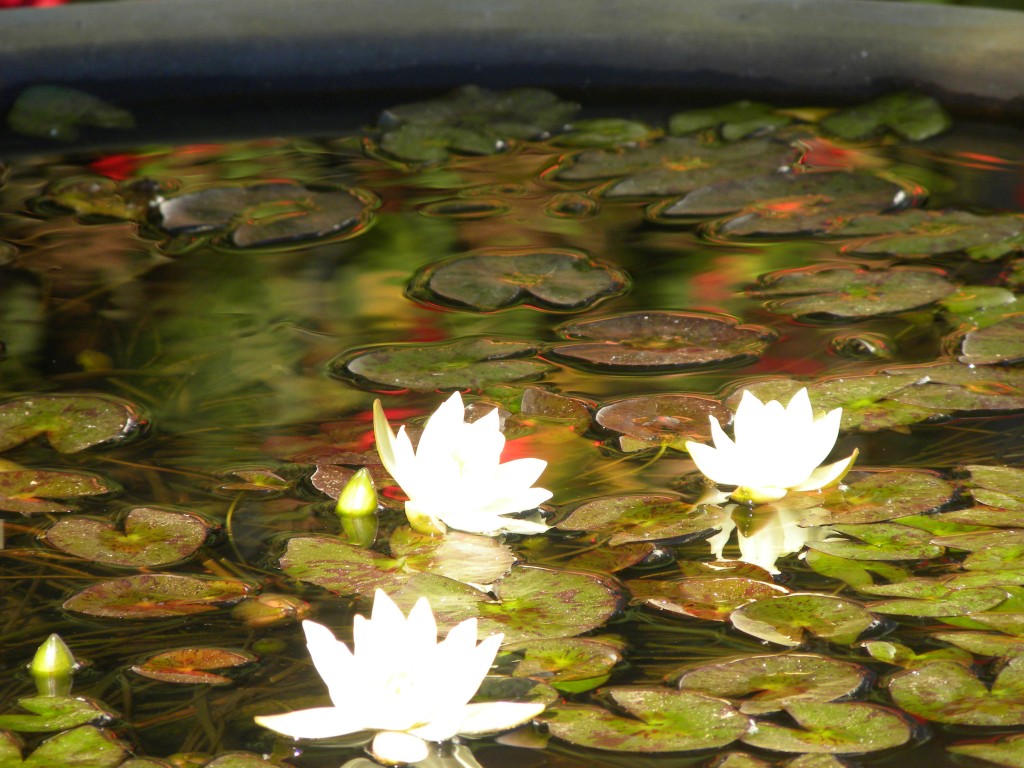
Water adds magic and life to a garden. Unfortunately,many people think adding water is beyond their ability.Water features needn’t be large or involved; a beautiful water garden created in a shallow basin or container in less than an hour can give pleasure spring through fall. The only requirement for the water lily is a minimum of 6 hours of direct sun daily. If you don’t have that much sun, don’t despair, there are other plant choices.
Don’t be surprised if wildlife finds its way to your water garden. Birds will stop to drink, small frogs may take up residence. A tree frog laid eggs in my lily basin last year. Eggs hatched into tadpoles eventually leaving as small frogs in late July. As the water warms in spring, algae blooms will form as part of the natural seasonal cycle, the water will eventually becoming crystal clear. Insects and water bugs will appear as well as mosquito larvae. Mosquito “Dunk”s can be used to eliminate mosquito larvae but I wouldn’t think of using them and altering the natural ecology that develops. If you look closely you’ll discover a hidden, miniature world beneath the lily pads.
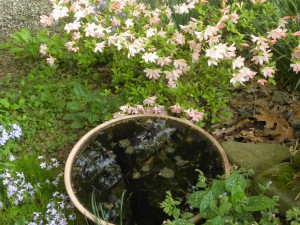 From a design perspective, the water basin or container will become the focal point for that part of the garden and set a tone. If the garden has or you want it to have a more formal, man made feel, emphasize that with the container. Select a circular or square container – possibly a low, broad urn or one with classical details. For a natural or more relaxed atmosphere, a wooden barrel or simulated natural stone basin will work well. It can also work in reverse should you already have a whimsical or bold container; you can design a garden around it.
Part of the beauty of a water basin or container is that it isn’t a fixed, permanent installation. If you’re not happy with what you’ve done or a new idea comes to mind, redesign and move things around. Create, experiment and enjoy!
For details read on.
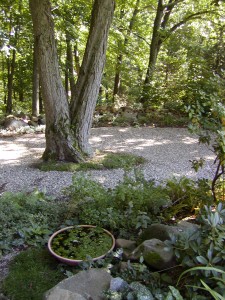 Starting with the container itself; many choices are available. All should be watertight and non-toxic. Deep containers 15″ or deeper with a suggested minimum diameter of 28″ make a good choice. A half whiskey barrel with or without a liner is about that size. It also has the considerable advantage of being able to remain outdoors year round full of water. For a more refined choice, good quality plastic reproduction carved stone or terracotta containers are great. many are difficult to distinguish form the real thing. These containers also have the advantage of being able to remain outdoors year round.
Shallow 8″ deep plastic reproduction basins with a minimum 28″ diameter are another great choice. If placed on a cantilevered deck, balcony or rooftop, they have the added advantage of weighing much less when full of water than a deeper container.
Again, placement of the basin or container should ideally be considered prior to purchase. That way specifics of the site can be taken into consideration. Matters of scale, color, texture and style all help create a mood. Practically speaking, level the container and consider placing it on a base of flat stone or pea stone.
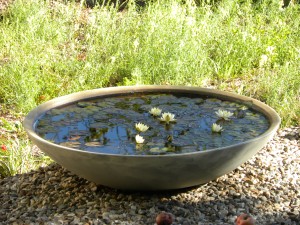 Plant the lily in a plastic mesh pot 7″x7″x3″ deep, designed for water lilies and sold through mail order pond supply companies. Plant in good mineral topsoil, not peat, containing no fertilizer or chemicals (insecticides or herbicides). Set the hardy lily rhizome at a slight angle with the cut end deeper in the soil and the growing tip projecting about 3/4″ above the soil surface. Hug one side of the pot with the rhizome so that the growing tip is roughly centered in the pot. This will allow room for the lily to grow before it hits the side of the pot. Tropical water lilies have a corm not a rhizome and should be planted in the center of the pot with the crown set 3/4″ above the soil surface. Insert “Lilytabs” or other water lily fertilizer as per product directions at this point. Cover soil surface with 1/2″ of washed gravel or pea stone. Place the pot with lily on the bottom of the filled container. Aged water is best so fill the container with water several days prior to adding the lily if possible.
As for the varieties of water lilies to use; my choices would be Nymphaea x ‘Helvola’, a miniature hardy lily with 2″ mottled leaves and 1″-2″ soft yellow, scented flowers. 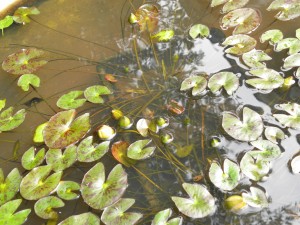 Helvola can flower with as little as 3 hours of direct sunlight daily but the more light, the more flowers. Because Helvola is a hardy lily, it can be placed in the water garden in April in Connecticut. It should start blooming in June and continue until late September. If you want to save the plant and use it next year, remove it from the water garden in its pot before freezing and store over winter in a plastic bucket of water deep enough to cover the crown of the plant by 2 inches. Store, preferably in very dim light at 35 to 45 degrees F. such as in an unheated, attached garage that won’t freeze. You could also store the potted plant out of water in a refrigerator over winter. Just check periodically to make sure the plant isn’t drying out. You don’t want growth. You want the plant cold and dormant but safe from freezing and rot which comes from mold. If you plan on forcing spring bulbs, an up-coming article here, you might consider purchasing a small, compact, 3.6 cubic foot refrigerator to be used for both the water lily and the bulbs rather than use the kitchen refrigerator.
Nymphaea x ‘Dauben’ , a tropical miniature water lily with light lavender blue flowers is my second choice. Flower and leaf size are slightly larger than Helvola. Dauben is also tolerant of lower light levels. Because Dauben is a tropical lily, don’t 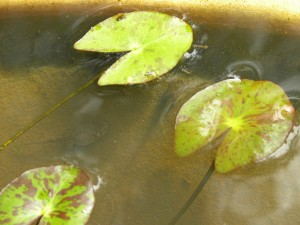 put it in the water garden until the threat of spring frosts has past – late May in Connecticut. It should flower from June through September. If you want to save Dauben for next year, you will need to put it in a heated aquarium in a sunny window over winter – or just buy a new plant the following year.
Water lilies should be re-potted every year to two years in spring to keep them growing and flowering strongly.
Come spring, I don’t empty and clean my lily basins. Soil accumulates at the base of the container over the years. One to two inches of accumulated soil is a good thing, adding nutrient for the water lilies. It also seems to lessen spring algae blooms possibly due to its bacteria levels. Simply remove dead leaves and debris and some of the water. Scoop out excess soil accumulation and let things settle a bit. In a day or two, wiggle the re-potted and/or fertilized water lily in its pot down into the accumulated soil layer, top off with fresh water and you’re set for the season.
In addition to water lilies, other plant choices could include:
Water Snowflake, Nymphoides cristatum - a semi-tropical plant which has the same cultural requirements as tropical waterlilies.
Water Hyacinth, Eichornia crassipes -a tropical plant that floats on the water  surface. Add about 1/2″ of topsoil to the container bottom so the roots which hang down from the plants can find nourishment, winter storage same as for tropical water lily
Water Sprite, Ceratopteris thalictroides – a tropical floating fern for a shady basin, soil on the container bottom is optional, winter storage same as for tropical water lily
Azolla, Azolla caroliniana – a miniature floating plant for sun or shade, winter storage same as for tropical water lily
Water Lettuce, Pistia stratiotes – a tropical floating plant for sun or shade, treat and store the same as water hyacinth
Don’t add fish to a shallow basin. It would be a hellish environment for them due to the high water temperatures in summer and accompanying low oxygen levels. They would also be vulnerable to predation from birds and animals and lastly, they would need to be brought indoors in winter. Though I don’t recommend it, if you absolutely have to, small goldfish could be put in a 15″ deep basin located in part shade but provide them with a cave of bricks or stones for protection, don’t add more than 3 and they will need to be brought indoors in October and not returned until May. They will eventually outgrow even the largest containers.
Another don’t – don’t use metal containers such as zink which look nice but can be toxic to wildlife.
By adding a miniature pump, if electricity is available (be certain to use a GFCI outlet), a whole new element of sound and motion can be gained. Keep in mind the small scale of your garden. A thin stream of water dripping into your basin from one to two feet above would be sufficient.
All items mentioned in this article can be obtained through William Tricker, Inc., Foster and Smith Aquatics and other mail order outlets as well as local garden centers and water garden suppliers.

